If you sell physical products online, ignoring Google Shopping is like having a store in the city center but keeping the doors closed.
Product ads are visual cards with a photo, price, and product name that appear at the top of Google search results. This is the hottest traffic you can imagine.
Imagine Google as the largest supermarket in the world. Regular text ads are like radio announcements in that supermarket. And Google Shopping is the opportunity to rent shelf space at eye level right in front of the checkout. The customer sees your product, its “packaging” (photo), and price even before entering your “department” (your website).
The setup may seem complex, but in this step-by-step guide we will break down the entire process: from creating an account in Google Merchant Center to launching and optimizing your first profitable campaign.
Step 1: Registering in Google Merchant Center — your “passport” for products
Before your products can appear on Google, you need to introduce them to the search engine. This is exactly what Google Merchant Center (GMC) is for.
What is it?
This is your personal dashboard where you upload all information about your store and products. GMC checks whether your business complies with Google’s policies and serves as a bridge between your website and the Google Ads account.
How to register?
Go to merchants.google.com and sign in using your Google account.
What’s next?
After registration, you will need to fill in your company information and verify ownership of your website. This is a critically important step that proves to Google that you are the store owner. The easiest way is to add a special HTML tag to your website.
Important: At this stage, make sure your website contains all the required legal information: Payment and Delivery pages, Return Policy, Contacts with a real address and phone number. Without this, your account will not pass moderation.
Step 2: Preparing the data feed — the menu for Google
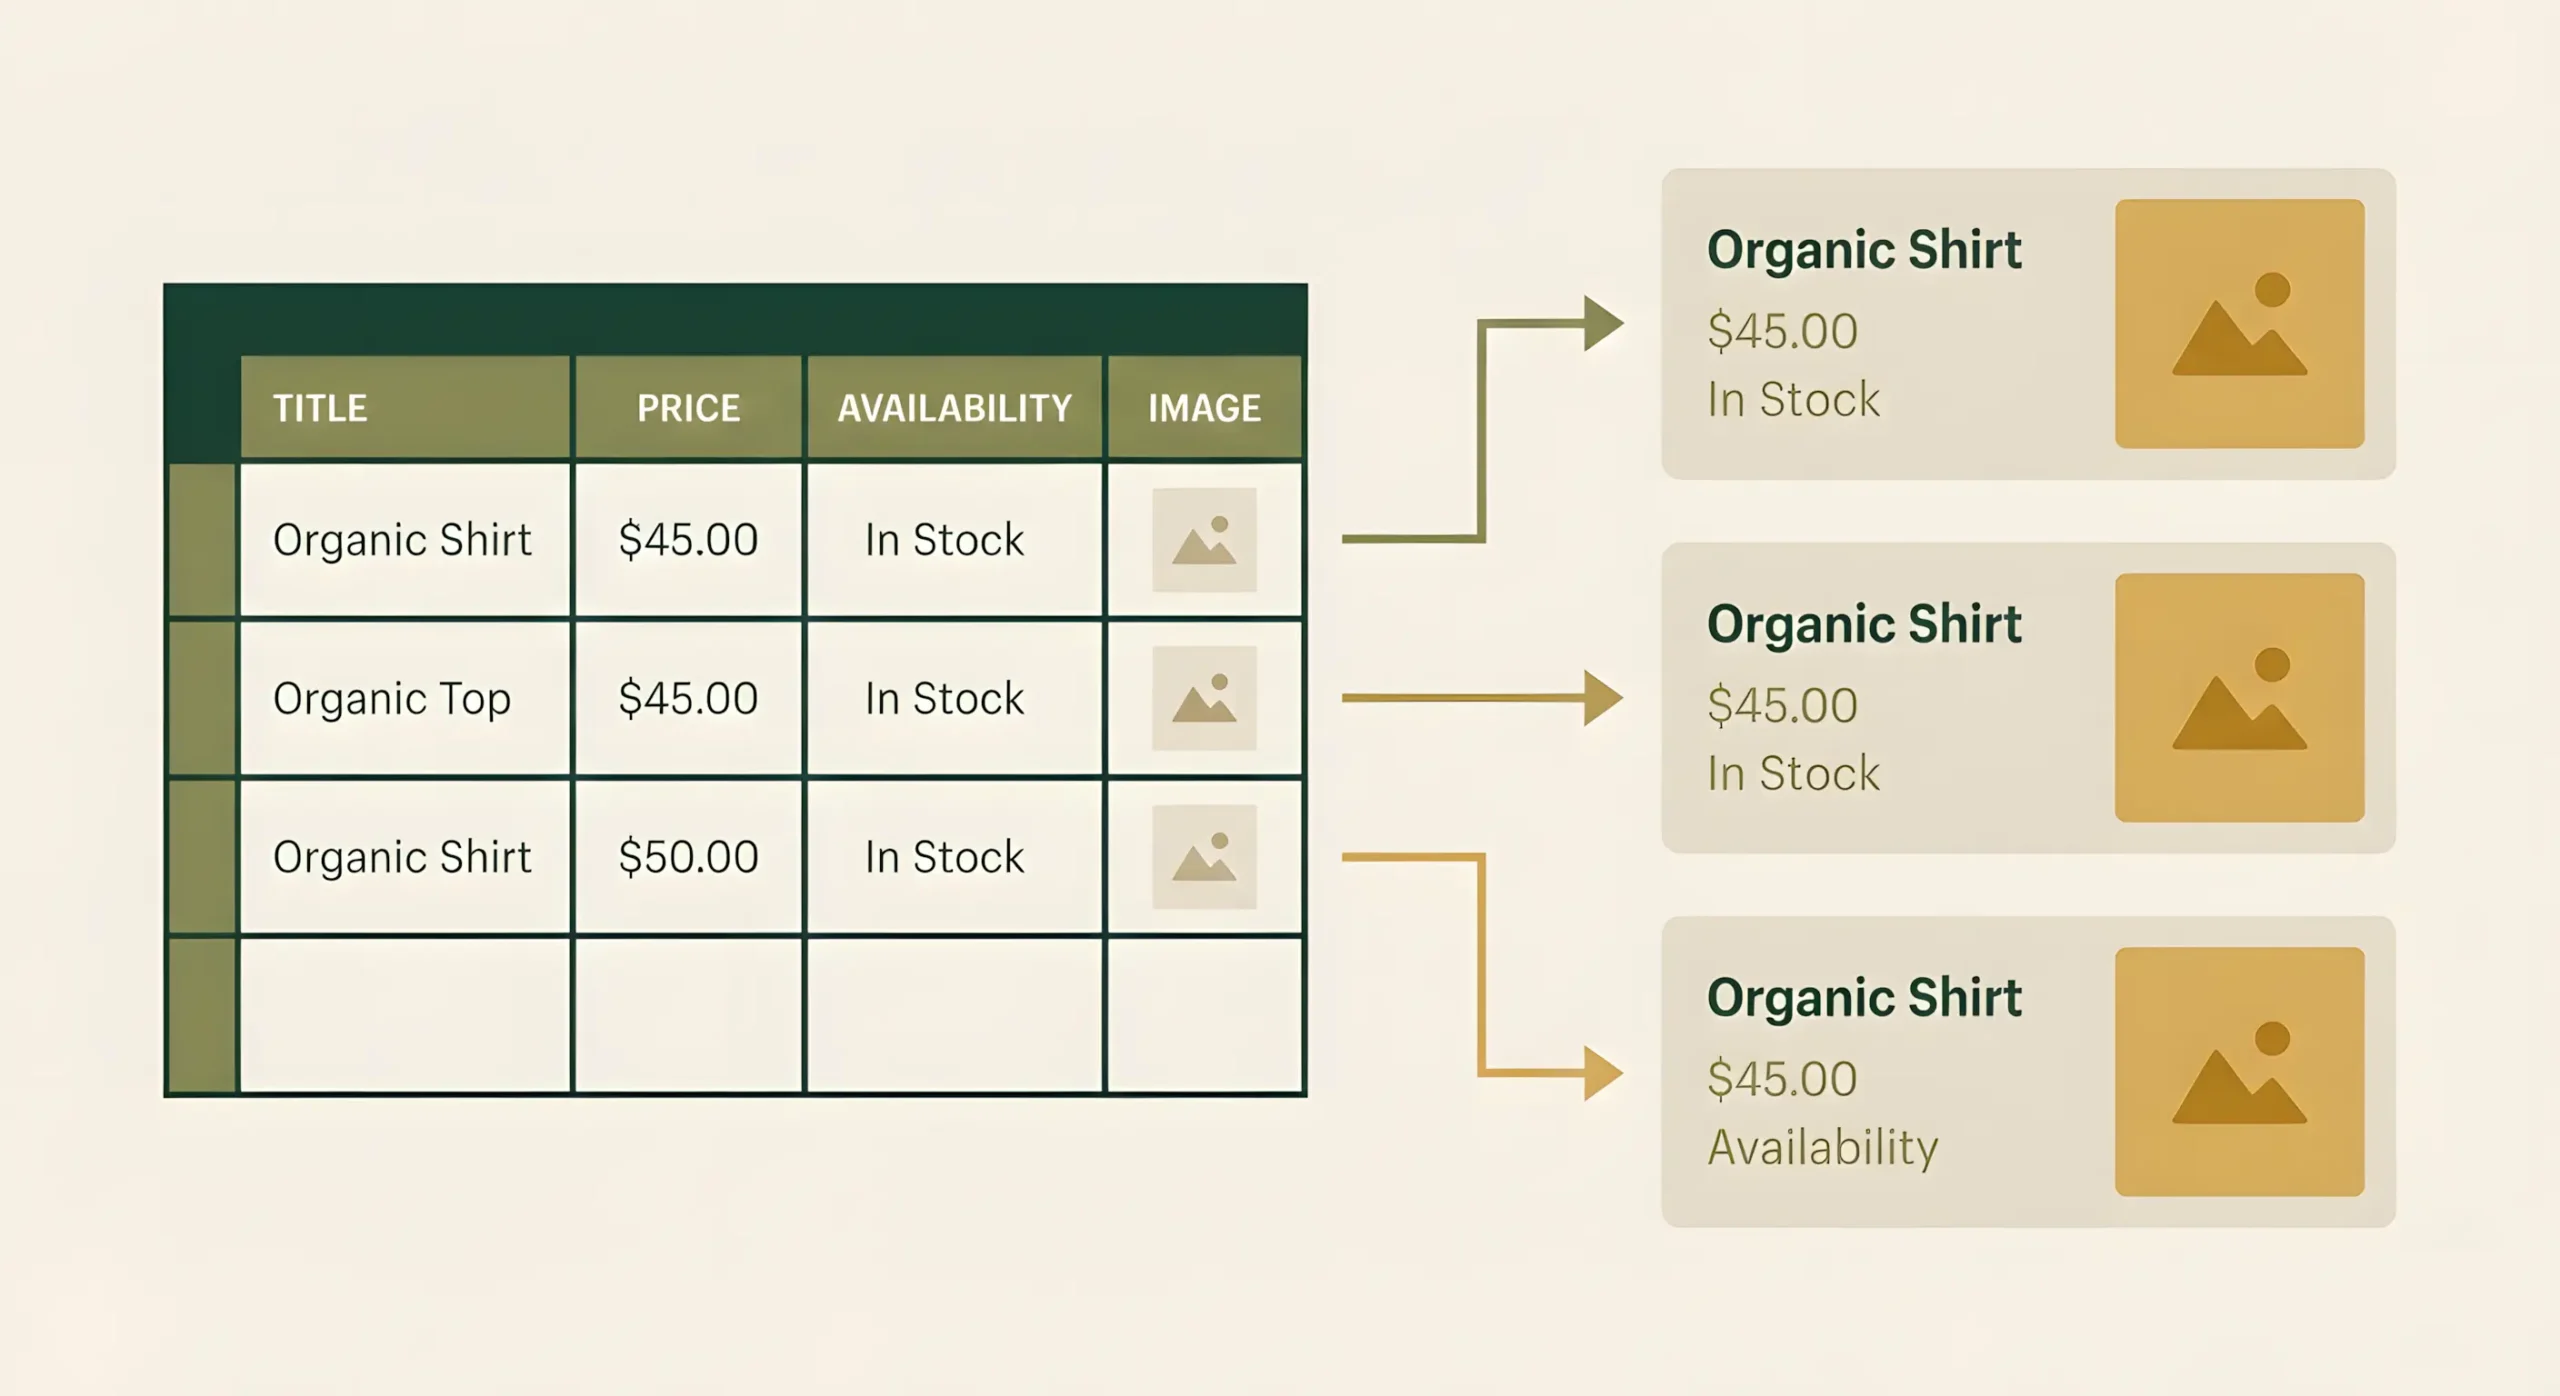
Data feed is essentially a table (usually in XML or Google Sheets format) that contains all detailed information about each of your products: name, description, price, image link, stock availability, and more.
Why is this so important?
The quality of your feed is 80% of the success of your Google product advertising. The more complete and accurate the information you provide, the better Google understands which users should see your products.
How to create it?
Automatically (recommended). Most modern CMSs (Shopify, OpenCart, WordPress) have built-in modules or plugins that automatically generate and regularly update this data feed. This is the best option, as it ensures prices and availability are always up to date.
Manually. For small stores, you can create a feed using Google Sheets by filling in all required fields manually. This is labor-intensive and requires constant updates.
Key feed attributes Google looks at first: title, description, image_link, price, availability, and gtin (product barcode, if available). An ideal title is not just “Dress,” but “Women’s summer midi polka dot dress BrandName, blue, size M.”
Step 3: Linking Merchant Center and Google Ads — marrying the services
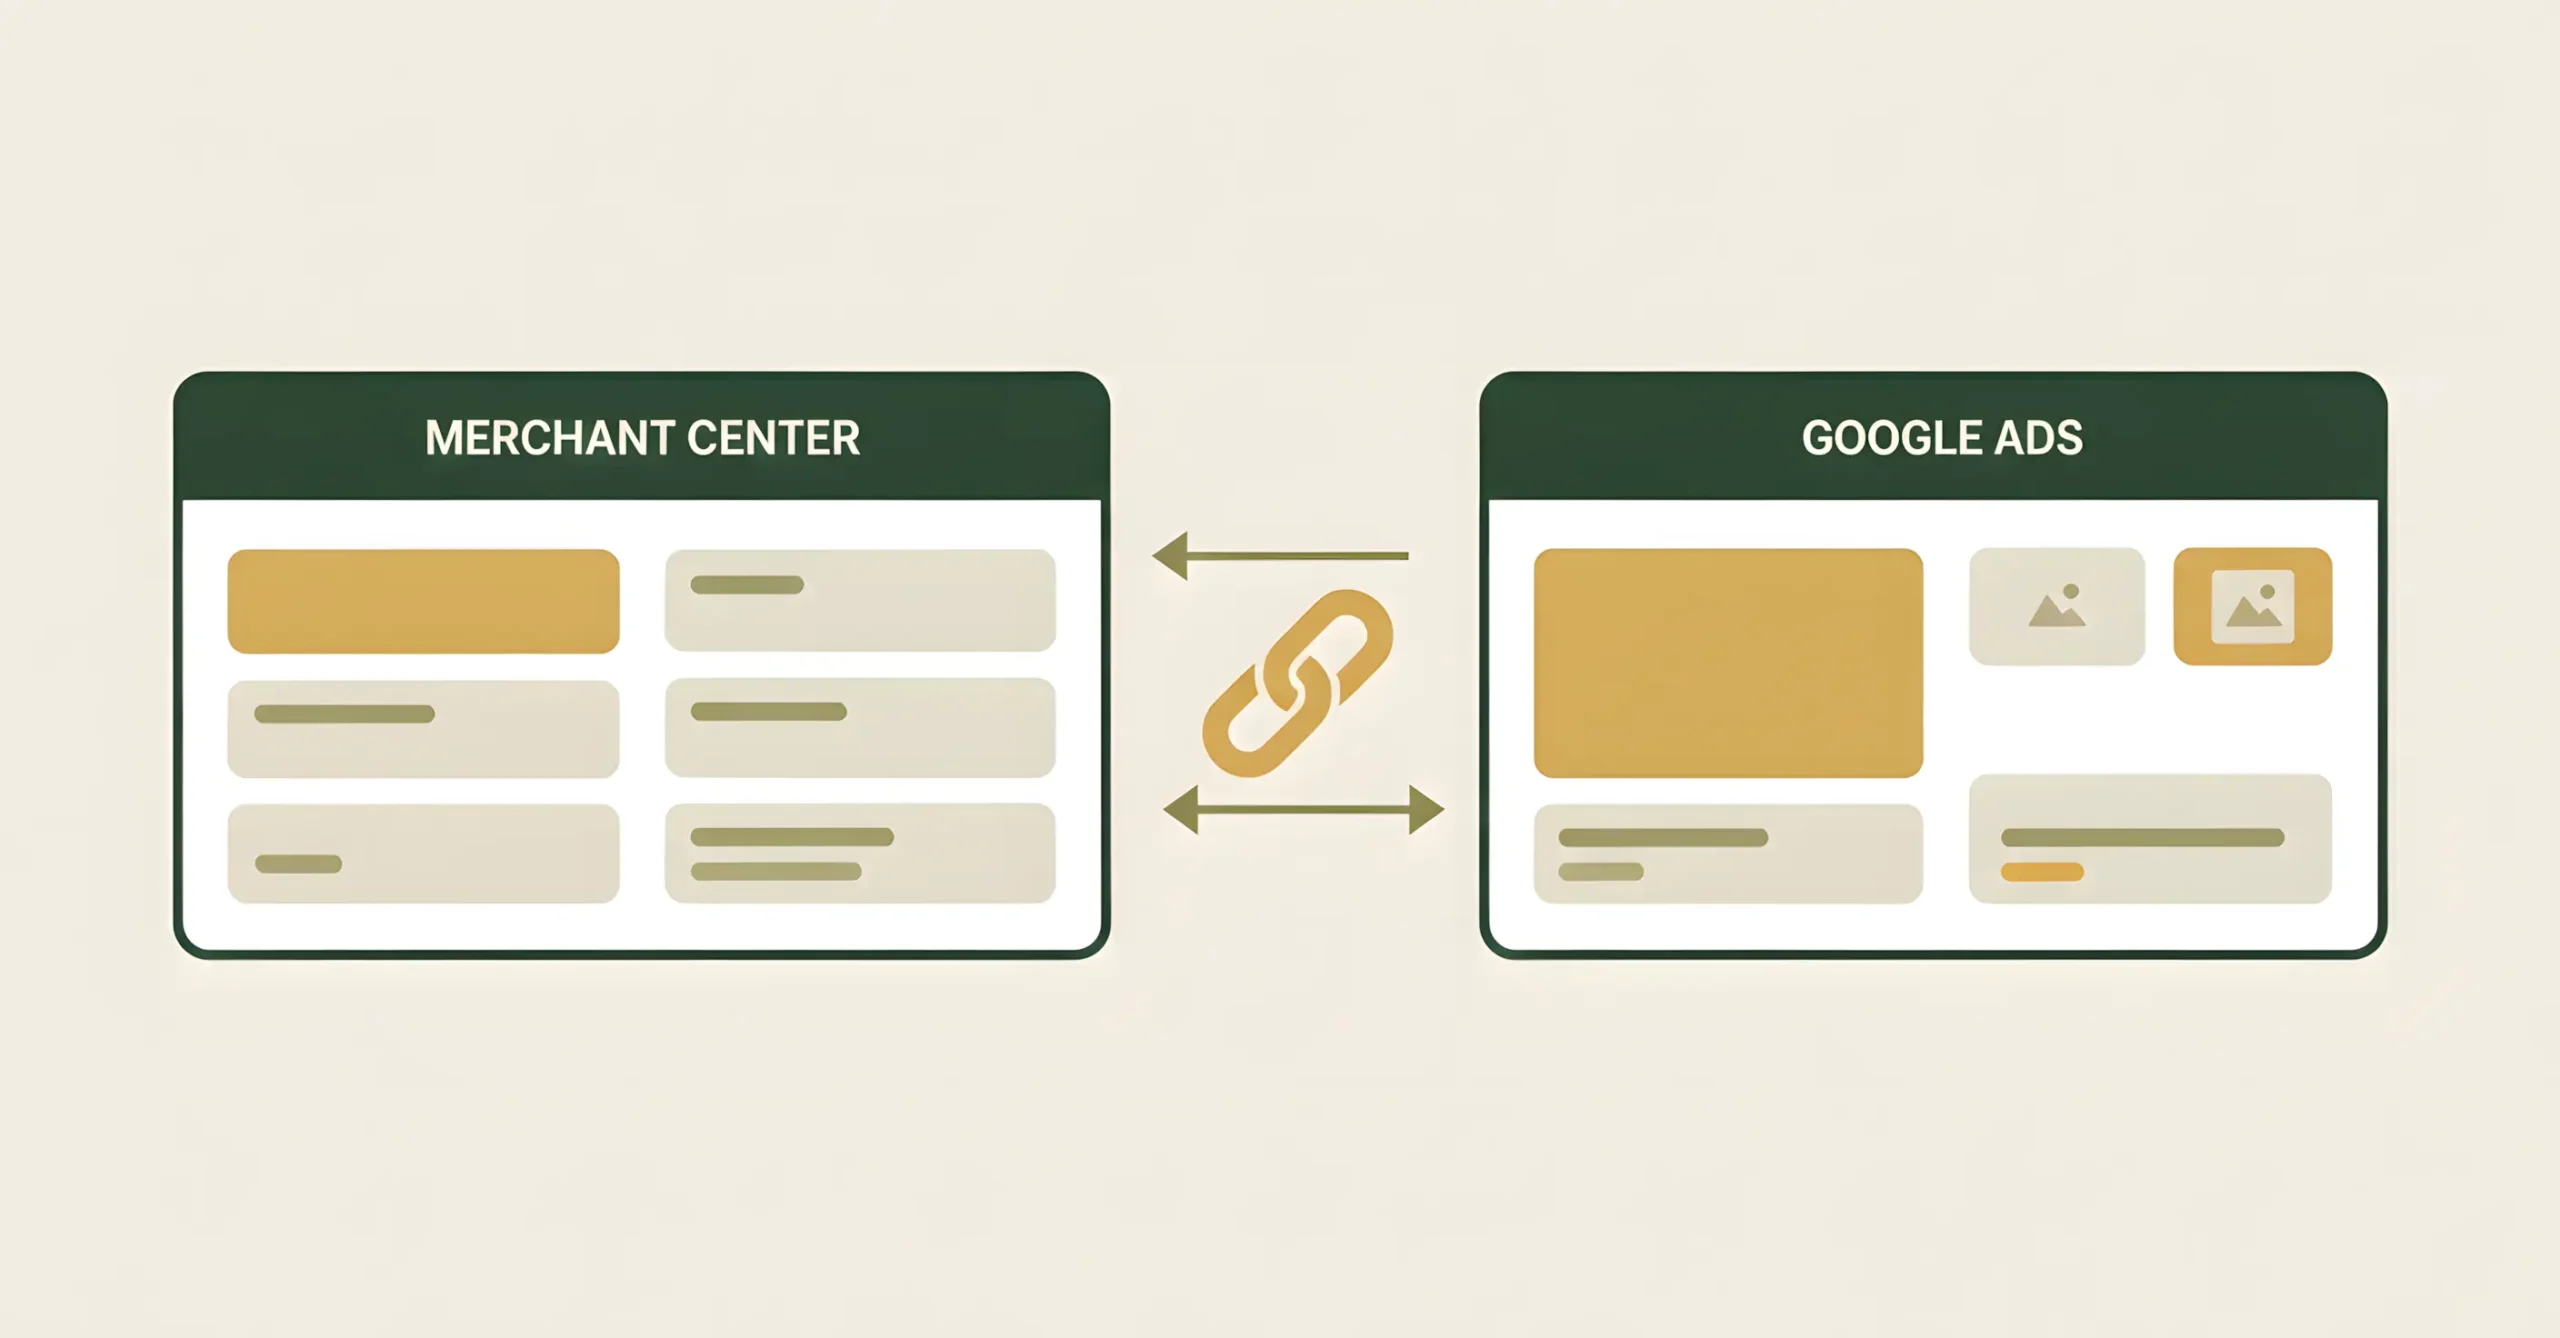
Now that you have a passport (Merchant Center) and a menu (data feed), you need to connect them to your “restaurant” — the Google Ads account. This is where you will manage budgets, bids, and analyze results.
How to do it?
In your Google Merchant Center account, go to Linked accounts (Settings → Linked accounts). There you will see your Google Ads account (if it is registered with the same email) or you can send a linking request by specifying its ID.
Why is this needed?
This linking allows Google Ads to see all your products from Merchant Center and use them to create product ads. Without this connection, Google product advertising is impossible.
Step 4: Creating a Performance Max campaign — launching smart advertising
Previously, standard shopping campaigns were used for Google Shopping, but today Google активно promotes a new, much more powerful tool — Performance Max (PMax).
What is it?
This is a universal campaign type that uses Google’s artificial intelligence to show your products across all possible placements: Search, YouTube, Gmail, the Display Network, and of course, Google Shopping.
You provide the system with maximum information (products, texts, images), and it decides where, when, and to whom to show your ads to achieve the maximum number of conversions.
How to launch?
- In your Google Ads account, click Create campaign.
- Select the Sales goal.
- Choose the Performance Max campaign type.
- Make sure your Merchant Center account is connected and select the products you want to advertise.
- Add as many assets as possible (asset groups): ad texts, logos, images, videos. The more data you provide, the more efficiently the system will work.
- Set the budget and bidding strategy (usually starting with “Maximize conversions”).
Important: PMax campaigns need time (usually 1–2 weeks) to learn. Do not draw hasty conclusions or make drastic changes in the first days after launch.
Step 5: Basic optimization — tightening the bolts after launch
Launching a campaign is only the beginning. To avoid wasting budget, you need to regularly analyze results and make adjustments.
Analyze product performance. In Google Ads (Asset groups → Listing groups), you can see which products sell best and which only spend money. Over time, underperforming products can be disabled.
Work with negative keywords. Although options in PMax are limited, you can (and should) contact Google support to request adding account-level negative keywords (e.g., free, used, repair) to filter out irrelevant traffic.
Optimize the feed. The best bid optimization and campaign optimization start with the feed. If a product sells poorly, try changing its title or main image in the feed. Often this yields better results than any bid manipulations.
Common mistakes: why products fail moderation or ads don’t work
Even if all steps are followed correctly, things can still go wrong. Here are some of the most common issues store owners face.
Price or availability mismatch
The price on the website is 1000 UAH, but in the feed it’s 990 UAH. The product is in stock on the website, but out of stock in the feed. This is the most common reason for product disapproval. Solution: set up automatic feed updates at least once a day.
Images with watermarks or text
Google requires clean product images on a white or light background. Any logos, “Sale” text, or watermarks on images will lead to disapproval.
No return policy
The absence of a clear and easily accessible return and exchange policy page on the website is one of the main reasons for blocking the entire Merchant Center account.
Entrust it to professionals, because the devil is in the details
You can set up Google Shopping yourself using this guide. But to get not just clicks, but maximum return on ad spend (ROAS), deep experience is required.
Professional campaign setup is not just about completing technical steps. It’s about the right campaign structure, deep bid optimization, audience work, competitor analysis, and continuous hypothesis testing. These details are what separate a break-even campaign from one that delivers 500–1000% ROI.
Google Shopping is a powerful but demanding tool
Google Shopping is, without exaggeration, the most effective paid advertising channel for e-commerce. Properly configured product ads can deliver a stable flow of hot, solvent customers. The key is a systematic approach, with maximum attention to data feed quality and ongoing optimization.
Want to get the most out of Google product advertising?
Order a free audit of your current advertising campaign. Our PPC specialist will analyze your setup, identify budget leaks, and provide specific recommendations to increase the profitability of your advertising. If you are just starting out, we will consult you on the potential of your niche in Google Shopping.